Getting The 10 DIY Countertops You Can Afford to Make - Bob Vila To Work


Examine This Report about How To Install laminate Countertop Smartly-Elitecooker
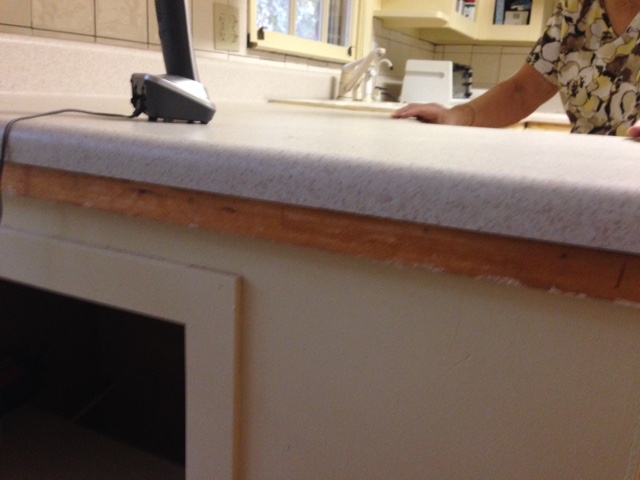
After the cut, use a belt sander to sand right to the line. Make certain you've made a square edge. Next, glue a build-up strip down flush with the newly cut edge and secure it in place. When the glue is dry, you can use matching plastic laminate over this built-up edge.

How to Cut Laminate Countertops - Hunker
Make a couple of practice cuts with a laminate cutter (Image 12) prior to you attempt the genuine thing. Set your laminate on scrap wood (not on your new countertop!) and draw the shape of completion cap plus 1/4 in. extra on both the top and front. Rating the top numerous times to cut through the laminate, utilizing a straightedge as a guide.
9 Simple Techniques For Working with IKEA Laminate and Wood Countertops - Traemand
It's simple to break this little piece off. smartliving to each mating surface and let it dry to the touch (about 20 minutes). Then position the end cap even with the bottom edge of the accumulation filler strip and press it securely into place. Using a dry rag, firmly wipe the surface area to further press it for a good bond.
Take your time with sluggish, controlled strokes. When the edge is nearly flush, slightly bevel the end cap to remove sharp corners that could snag a dishcloth later. Lastly, push the areas back together, use caulk and join the miter (Picture 13). Then set up the miter bolts using the method revealed in Photos 4 and 5.
How to Install Laminate Countertops - YouTube
Tools needed to install a new laminate countertop- Mal-O-Sen - Questions
Utilize this setting to scribe the left side of the top for the return. Photo 15: Mark the left side of the countertop, Scribe the left side of the top, then cut along your mark with a handsaw, leaving the front edge to nestle around completion panel and create a notch return.
Usage contact adhesive on the exposed notch edge and on a little piece of laminate. Once the adhesive is dry to the touch, press the laminate piece in place and file the edge for a tidy, accurate fit. You may not have to make a "return" cut in your counter top like the one shown in Photos 1416.